[Full Guide] Change Default Hard Drive on Windows 7, 8, 10, 11
How to change default hard drive on Windows 7 when the current one has insufficient space. This article will help you to handle this problem with two methods, including clean installing Windows and using the reliable disk migration tool.
By Tina / Updated on May 12, 2023
Can I change default hard drive on Windows 7?
"Hello, I found that all data, including Windows system, pictures, various files, etc., are stored in my default hard drive. But my hard drive is only 128G, I am worried that if the hard drive space is full, the computer will crash, so I want to change the default hard drive on Windows 7 to a larger one. Can I do it? Looking forward to your help."
Why need to change the default hard drive?
Just like the above example, many users want to change the default hard drive on Windows 7. Some users are worried that the excessive data stored on it will cause the PC sudden slow or even system crash; other users want to replace HDD with SSD as the default hard drive.
Therefore, in order to improve your satisfaction of using the computer, we provide 2 methods on how to change default hard drive on Windows 7 in this article.
How to change default hard drive on Windows 11, 10, 8, 7
When you want to change default hard drive on Windows 7, you can take two measures: Clean install Windows OS on the new hard drive and set it as the default drive, or you can directly migrate the all data on the current default hard drive to another one.
│Option 1. Clean install Windows on new hard drive
If you want to clean install Windows on a new hard drive, please follow the steps below:
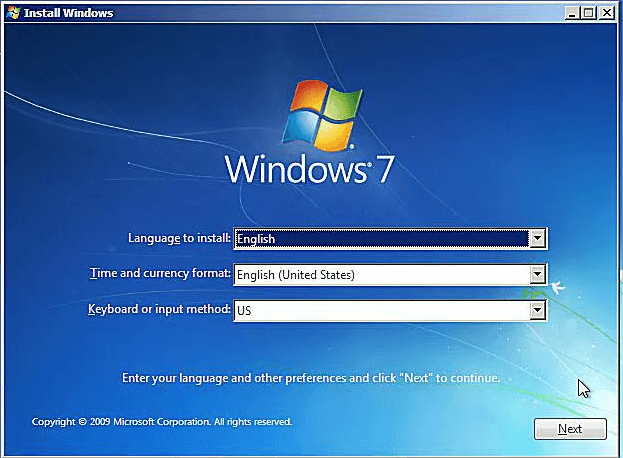
Step 1. Planning a clean installation of Windows 7, booting the computer from a Windows 7 DVD or USB device. You need to select your language, Windows edition and architecture, then click "Next".
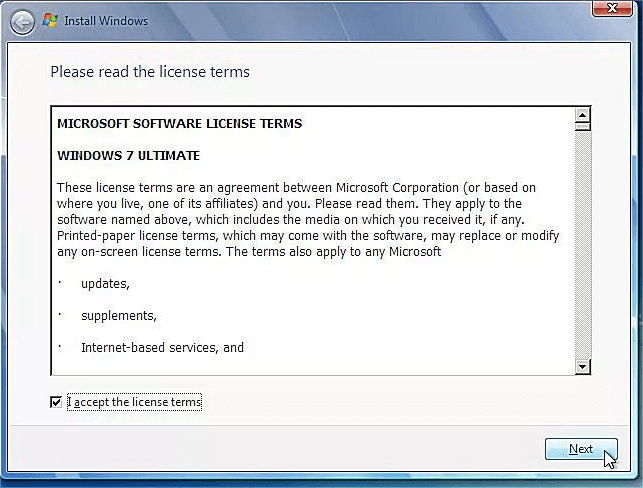
Step 2. Select "Install now" and wait for the Windows 7 installer to start. Please accept the Windows 7 license terms.
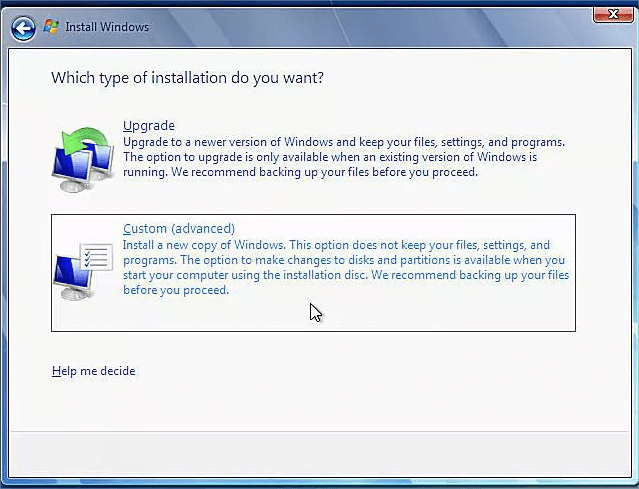
Step 3. You need to choose the type of Windows 7 installation you want to complete: Upgrade or Custom (advanced).
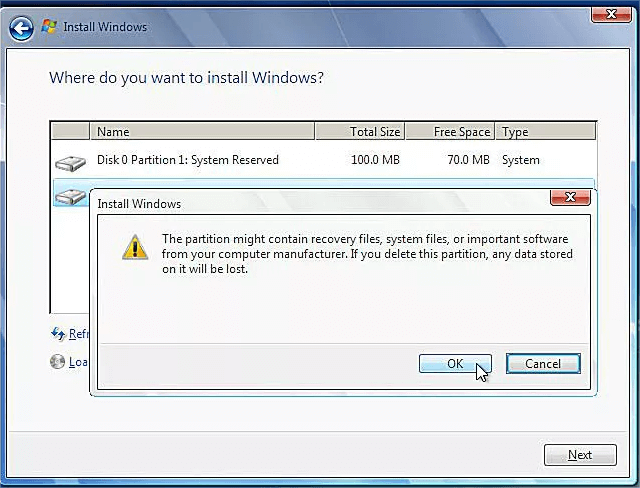
Step 4. Delete the partition where Windows is installed.
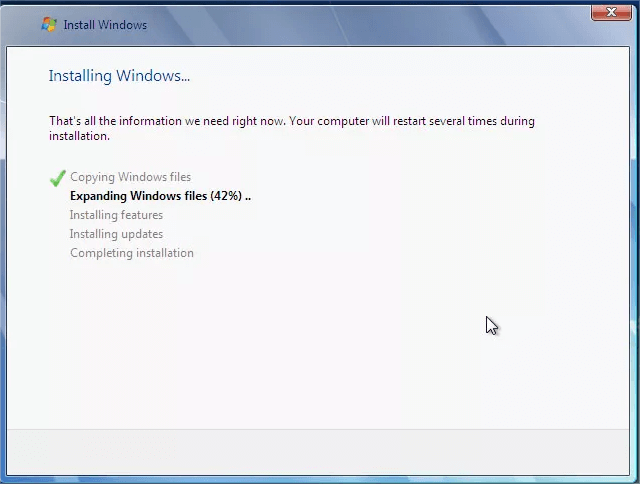
Step 5. Choose a physical location to install Windows 7 and wait for Windows 7 to install. Then restart the computer and wait for the Windows 7 installation to start again.
│Option 2. Try disk migration tool
As you can see, the above method of reinstalling Windows to change the default hard drive is complex and difficult. In contrast, the professional disk cloner AOMEI Partition Assistant Professional is the easiest way for you.
In a user-friendly interface, this disk migration tool can not only help you migrate OS and system-related files, but also clone all data on the old hard drive to a new one. With it, you can perform Windows 7 changing default hard drive without any effort.
Besides, you can also manage your new hard drive with this all-in-one tool, which provides you with various advanced features such as Partition alignment (for SSD), Allocate free space, Move Application from one partition to another, Create partition, etc.
Let's download it and see how to change the default hard drive on Windows 7.
● Preparation
Before the hard disk migration, please do the following:
➹ Connect the new hard disk to your PC: prepare a SATA to USB cable to connect the new hard disk with the laptop.
➹ Initialize the new hard disk: Please initialize new disk in advance and set the partition style as the same as the old disk.
● Use AOMEI to migrate hard drive
When everything is ready, please follow the steps below to clone the old hard drive.
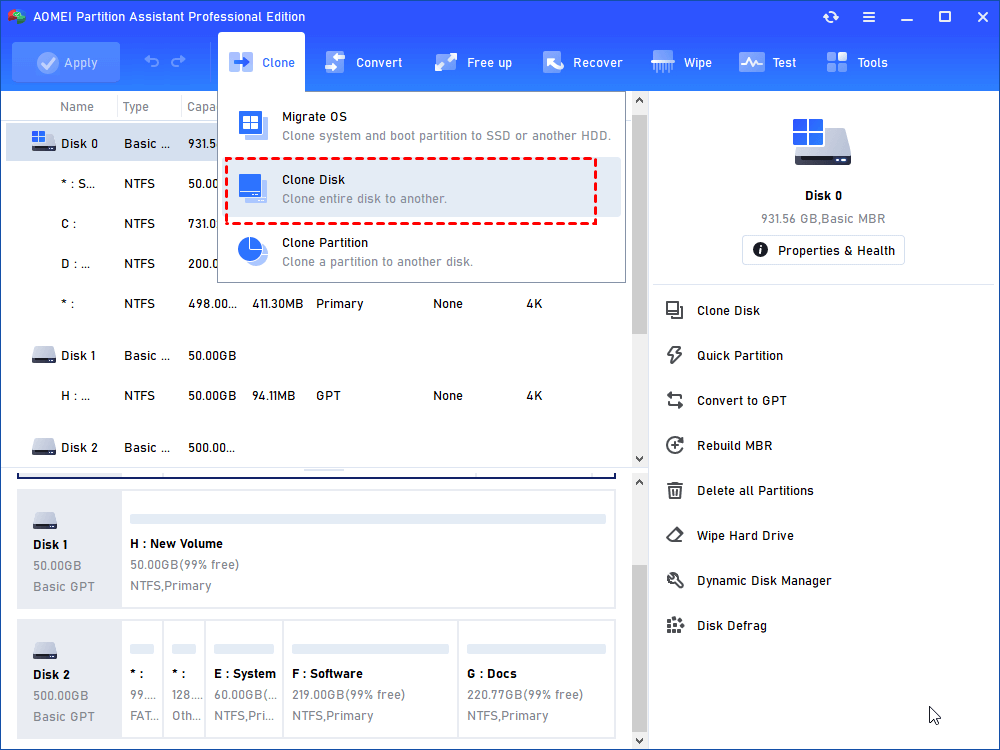
Step 1. Open the Demo of AOMEI Partition Assistant Professional. Click “Clone Disk” in the right menu.
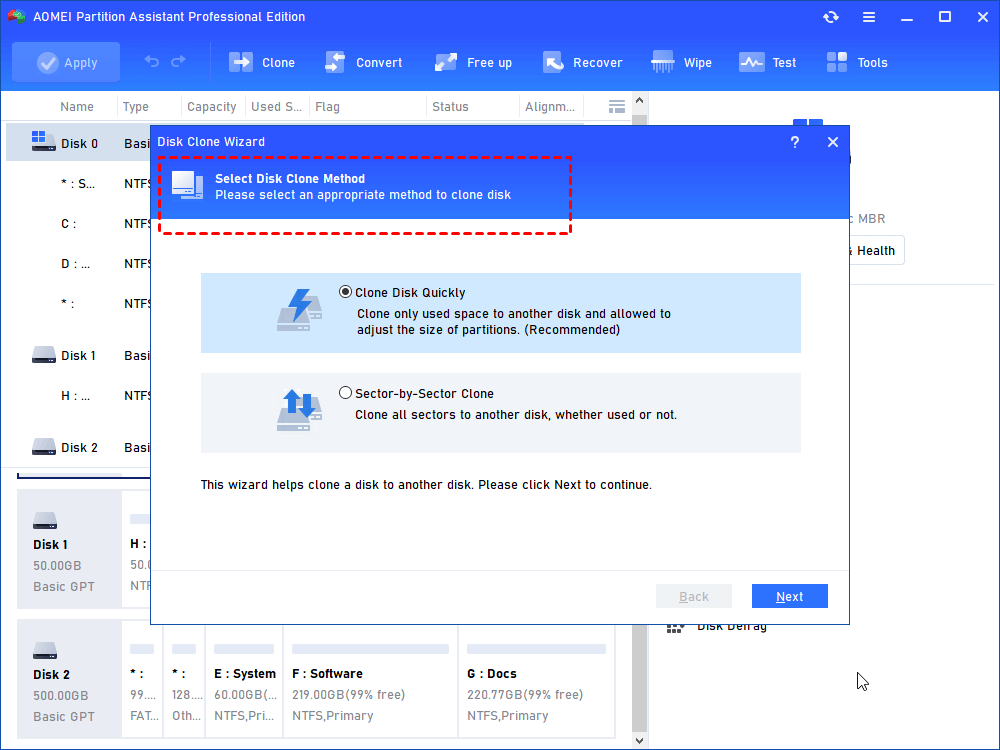
Step 2. You have two choices: "Clone Disk Quickly" and "Sector-by-Sector Clone", here we click "Clone Disk Quickly".
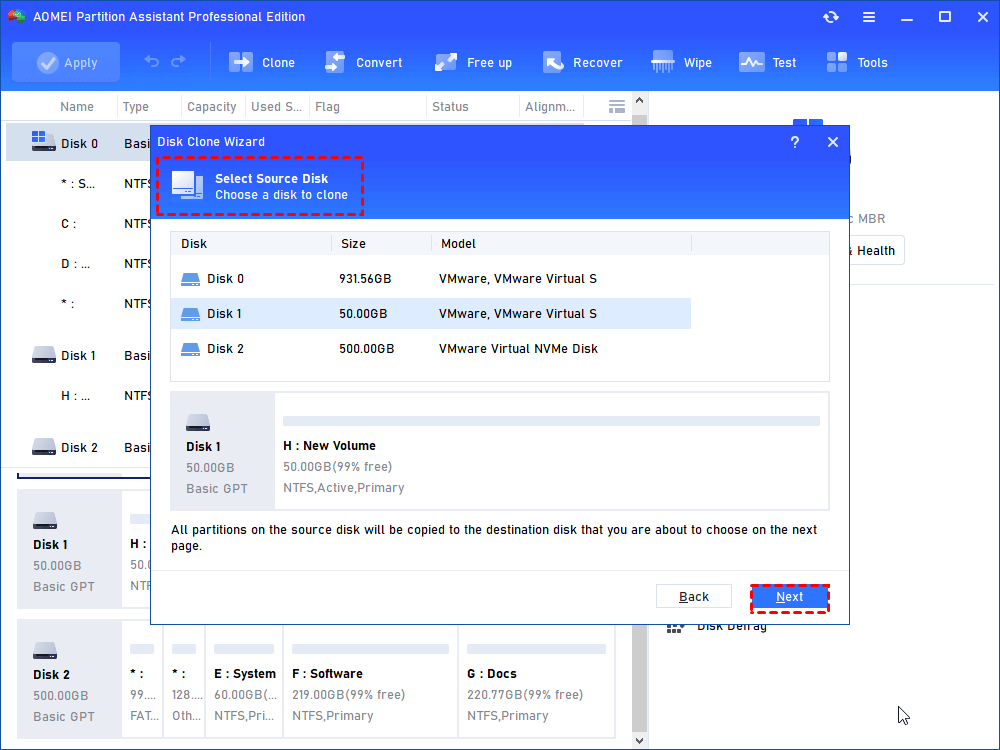
Step 3. Select the source disk and click "Next".
Step 4. Click your new hard drive and check "Optimize the performance of SSD".

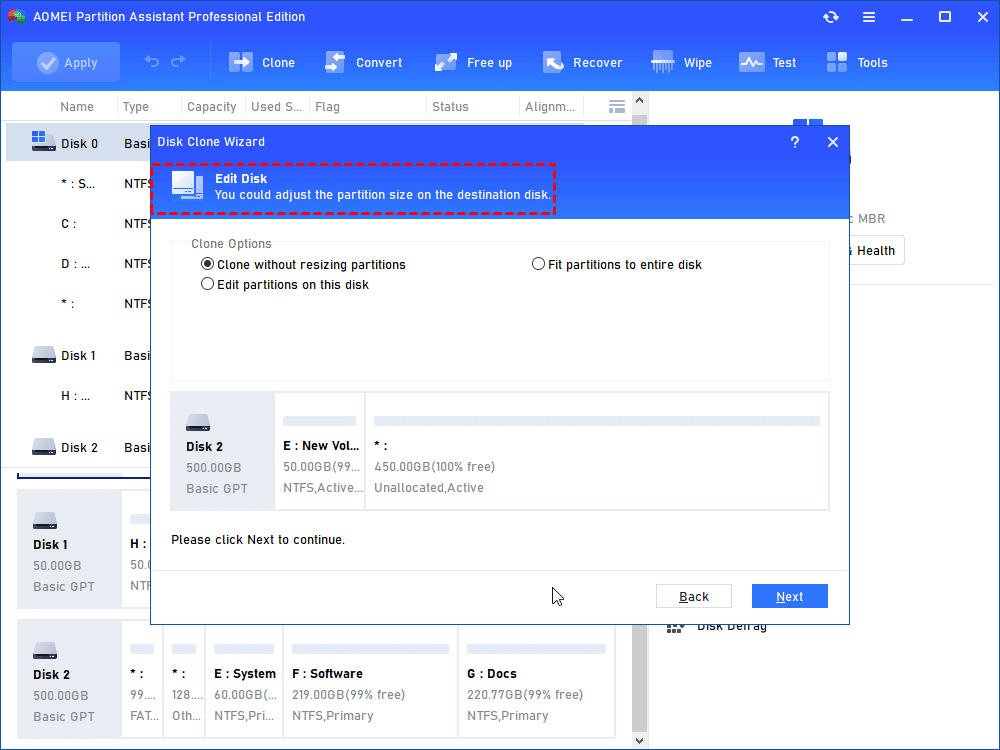
Step 5. In the new window, you can edit the disk.
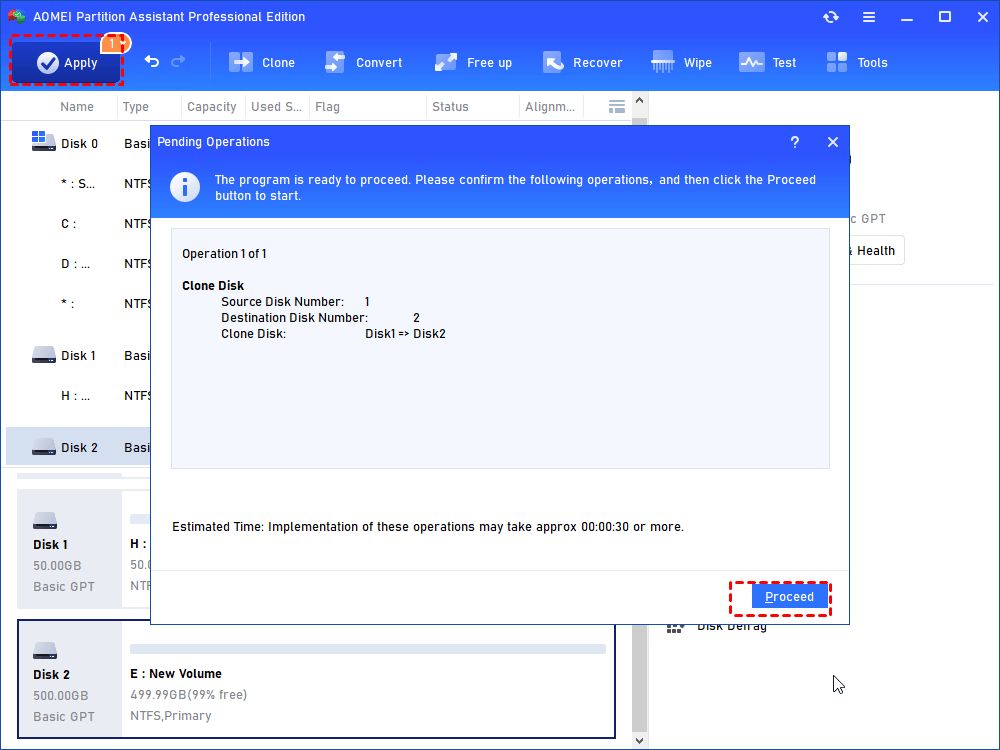
Step 6. Click "Apply" and "Proceed" to start the disk cloning.
Then you should install the new SSD on your PC. Depending on different places to install the hard drive, you need to change methods to replace the default hard drive in laptop and desktop.
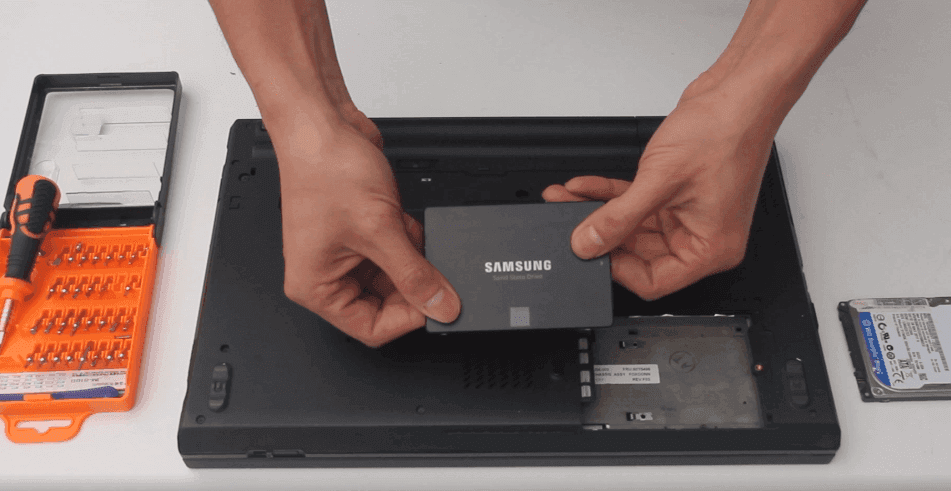
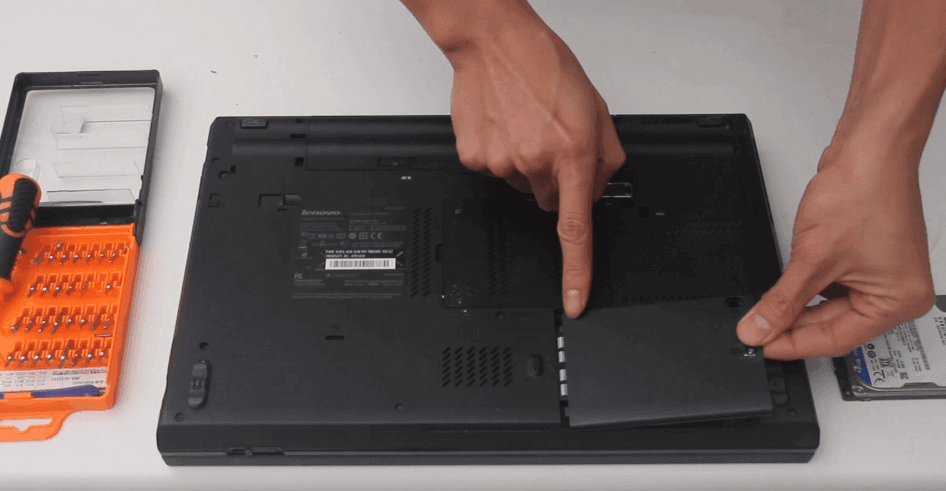
For laptop, you can follow the steps below to install new SSD:
Step 1. First, you need to prepare a cross screwdriver, corresponding hard disk adapter and anti-static gloves in advance. Open the back cover with screwdriver, find the location to put the new SSD and replace the current hard drive with it.
Step 2. Then, restore the hard drive back cover of the laptop.
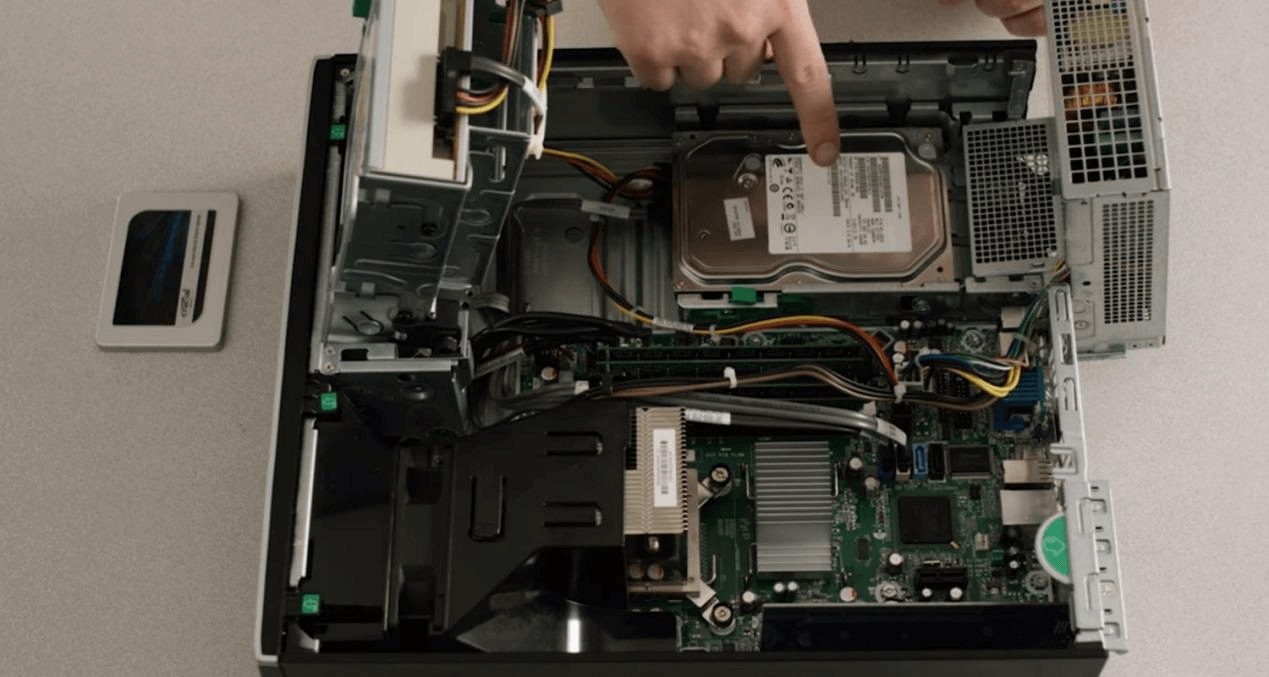
For desktop, you should convert the method to change default hard drive.
Step 1. Turn off your PC, ensure there's no remaining power. Then open the case and find out the memory slot.
Step 2. Connect one side of the adapter to the connector, and the other side to the new SSD.
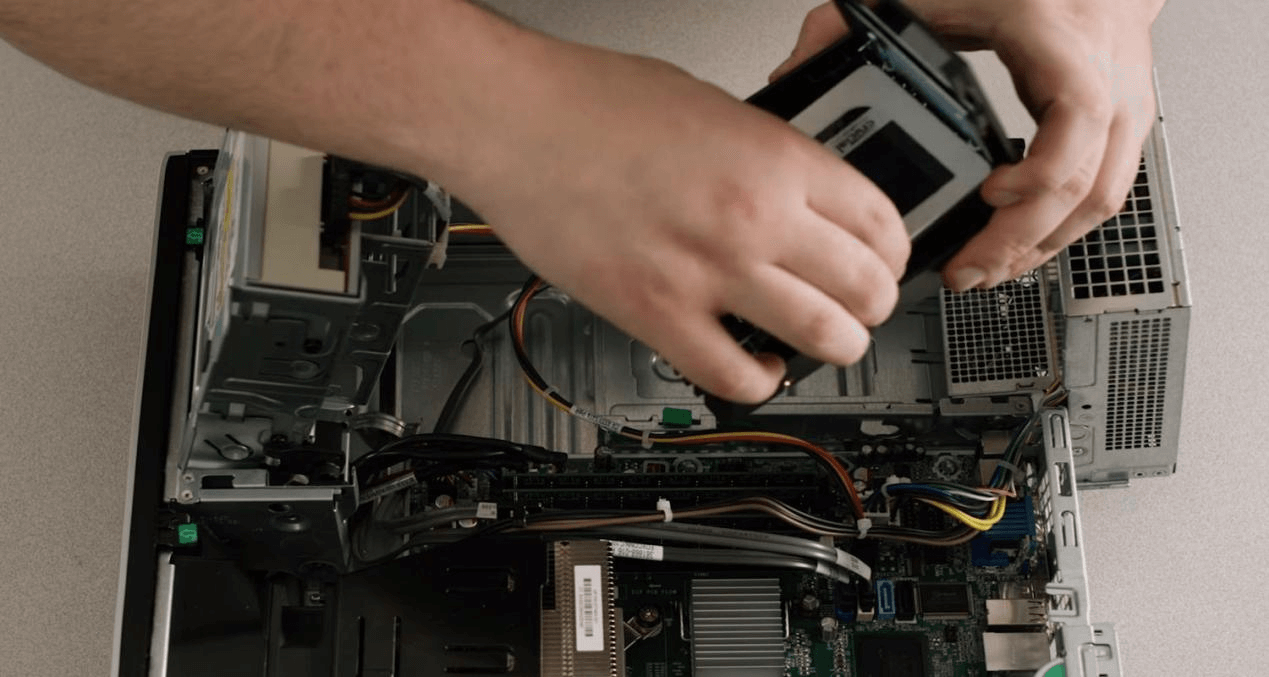
Step 3. Close the case cover and restart the computer.

● How to change the boot drive
After cloning the current default hard drive (including Windows OS) to another new drive, please don't forget to change the boot drive. Here are the specific steps:
Restart the PC, when you see the Windows logo, pressing any key of F1/F2/F3/F5/Esc for several times to enter the BIOS setup. Select "Change boot order" to set the new drive as your boot drive.

To sum up
How to change default hard drive on Windows 7 when you want a larger one or replace it to SSD? In this post, we shared two methods to complete it, including Windows clean install and usage of the reliable AOMEI Partition Assistant.
One more thing, when you want to change the default drive on Windows Server, the Server Edition will come in handy; when you want multiple people to use AOMEI at the same time, the Unlimited Version cannot be ignored.