[Tutorial] TOSHIBA Dynabook SSD Replacement Clone
How to make a TOSHIBA Dynabook SSD replacement clone for TOSHIBA Dynabook laptop? In this post, you can learn how to replace an old hard disk with SSD for a laptop SSD upgrade.
By Lucas / Updated on May 12, 2023
Sharp Corporation owns Dynabook Inc., previously Toshiba Client Solutions Co., Ltd., a Japanese personal computer maker. From 1958 to 2018, it was known as Toshiba. It claims that the Toshiba T1100, introduced in 1985, was the first mass-market laptop computer. Toshiba has used the brand name "DynaBook" or "Dynabook" since 1989, but in 2019, Dynabook became an international brand.
Now, the Dynabook Portege, Dynabook Tecra, Dynabook Satellite Pro series are popular in the Japanese market and the world laptop market. For users whose Dynabook has run for several years, there is no better method to speed up and update a laptop than to replace its mechanical drive with a new SSD, primarily if your laptop still uses an HDD, this is the most excellent approach to boosting computer performance. Defragment hard drives will never increase speed as much as an SSD would.
It's obvious, but if the notion of reinstalling Windows and all of your apps, then changing all of their settings gives you shivers, don't worry, this post will teach you how to quickly set up a clone of your present system to do a laptop SSD upgrade.
What will you need for Dynabook SSD replacement clone?
Before we start all operations, there is something you need to know at first, and you may need to prepare some items.
▶ 1. A proper SSD
Of course, the first thing is to find a proper SSD for your Dynabook. Check the form factor of your disk before purchasing a replacement SSD. You must ensure that the drive will fit in the laptop. Most laptops use 2.5-inch disks, which come in a variety of thicknesses (7mm or 9.5mm) and interfaces (SATA or IDE).
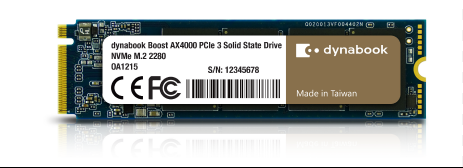
Laptops often utilize 2.5-inch SATA SSDs, but you should consult your laptop's handbook or specs to ensure you choose the correct size SSD with the correct interface. Alternatively, you may be able to get this information by visiting Dynabook's official website or by inspecting the label on your current drive.
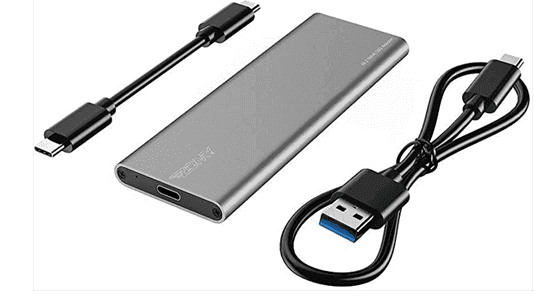
▶ 2. An external enclosure or adapter
This tool is to connect that SSD to your laptop. We suggest you choose USB 3.0 for faster speed and better performance.
▶ 3. Other tools
You’ll need a small Phillips screwdriver to open your laptop and you can prepare a separate external hard drive for system backup and store some files that you don’t want to keep in your SSD.
Preparation for new SSD
For the total new SSD, you need to initialize it before the SSD replacement clone.
Step 1. Place the SSD in the enclosure or connect it to the USB-to-SATA adapter, and then connect it to your laptop with the USB cable.
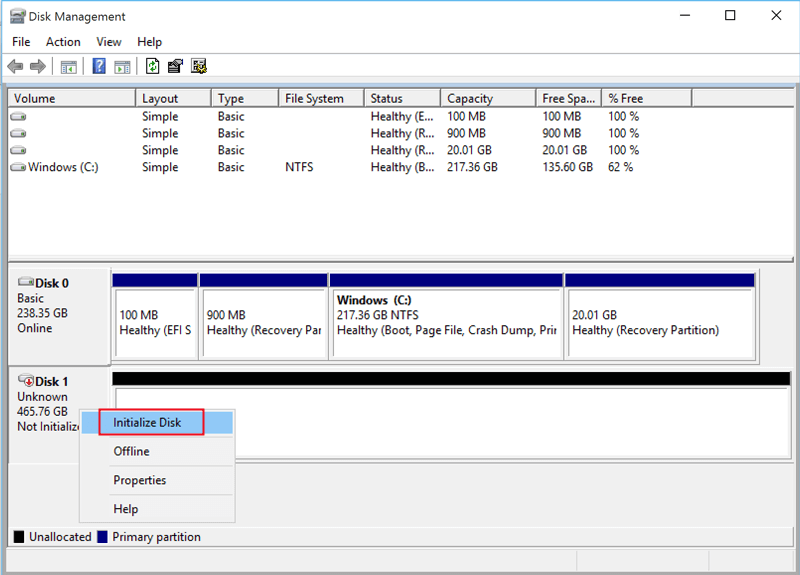
Step 2. If the SSD does not appear with a new drive letter on your computer, use Windows' Disk Management tool. Return to Windows search and type "disc management," then select "Create and format hard drive partitions." The SSD should appear as a new drive under your present one in Disk Management. If the drive indicates "Not initialized," please right-click it and select "Initialize disk".
Steps of Dynabook SSD replacement clone
Now, in this part, you can follow the steps to clone Dynabook disk.
Section 1. Employ a handy cloning tool
Because Windows doesn’t offer users a system built-in cloning program, the best choice is to download a reliable third-party cloning tool for Dynabook SSD replacement. Here we recommend you AOMEI Partition Assistant Professional, a disk and partition management tool for Windows 11/10/8/8.1/7/XP/Vista system.
It may easily clone a laptop or desktop HDD to an SSD in order to transfer all data from one drive to another, including Windows installations and other customized apps. Furthermore, following the clone, everything may boot from the copied SSD without any problems.
If you need to clone an MBR to a GPT disk or GPT to MBR, this tool also allows you directly clone them without conversion. But if you wish, you can convert your disk between MBR and GPT without deleting partitions on it. All data is safe.
Section 2. Clone the old disk to another disk
Step 1. Please select an SSD drive for your laptop depending on disk size, interface, and thickness. Connect it to your laptop using a SATA-to-USB converter, and ensure sure it is identified by your computer.
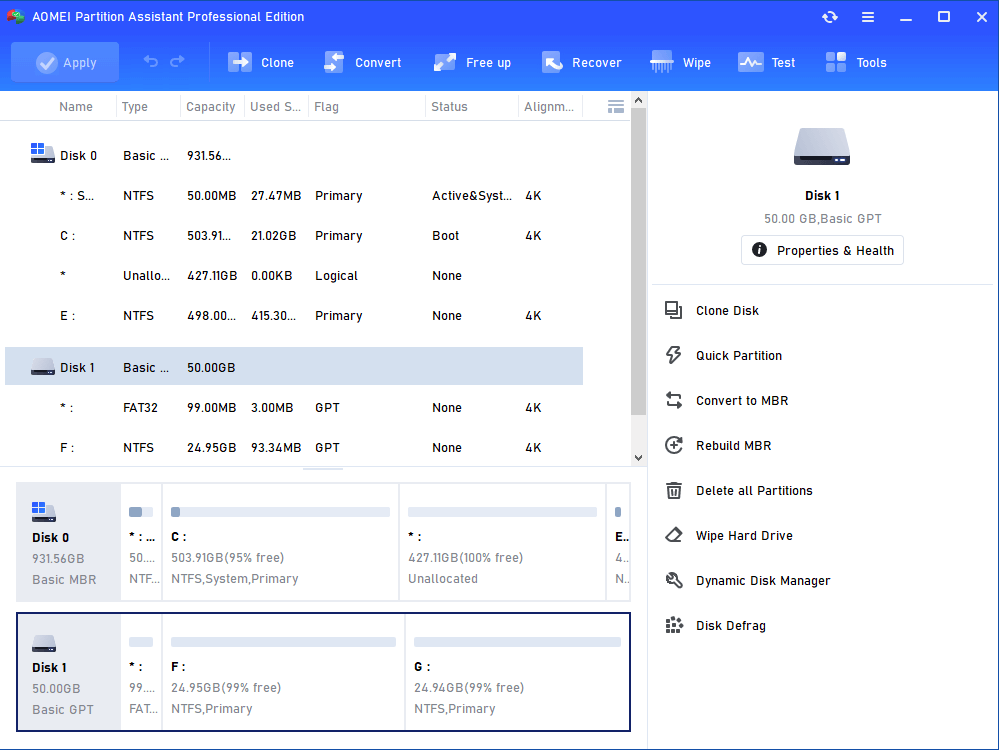
Step 2. Install and run AOMEI Partition Assistant Professional. Click “Clone Disk” in the right menu.
Step 3. In the subsequent window, two different disk copying methods are offered, choose one according to your requirements, and click "Next".
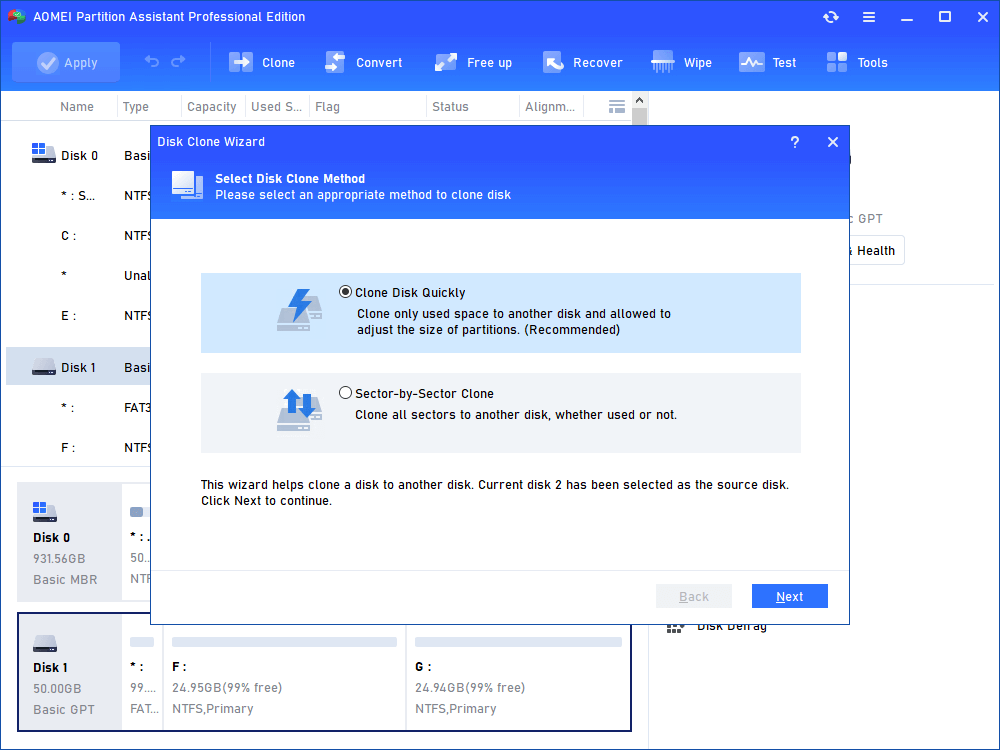
• "Clone Disk Quickly" will copy only used space to another disk, with which you can clone a larger HDD to a smaller SSD.
• "Sector by Sector Clone" is to copy every sector, no matter whether it is used or unused, to another disk, which requires the destination disk equal to or larger than the source disk.
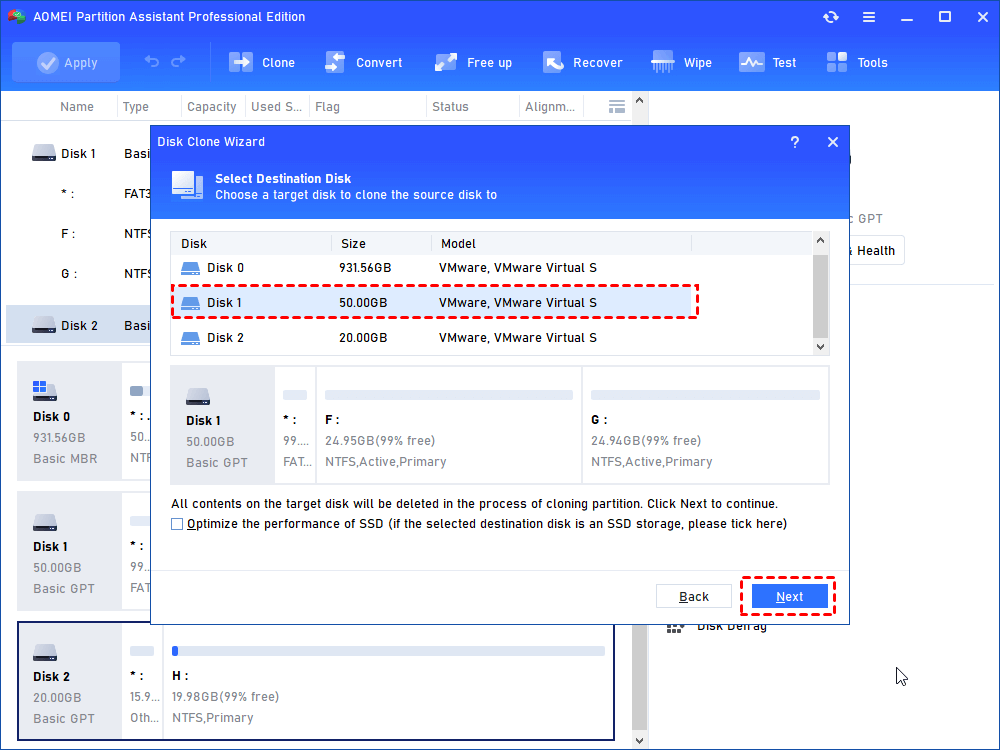
Step 4. Now, select the SSD drive as the destination disk and you can tick "Optimize the performance of SSD". Then click "Next" to continue.
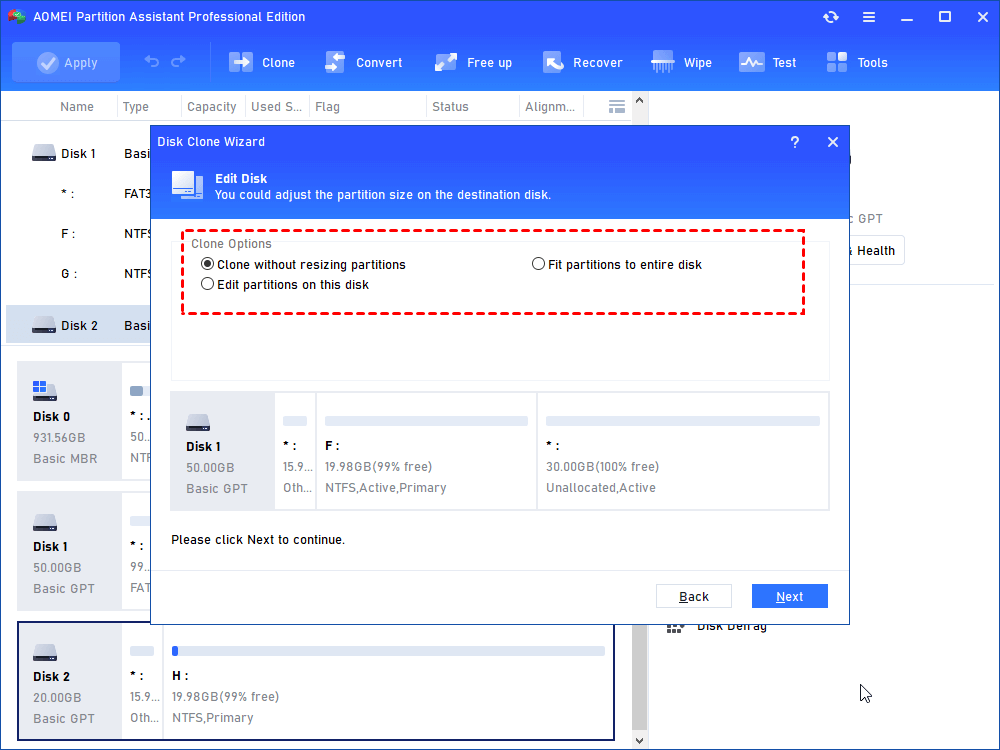
Step 5. In this window, you can edit partitions on the SSD drive if you choose "Clone Disk Quickly" in step 2. Also, you can keep the defaults and hit on "Next".
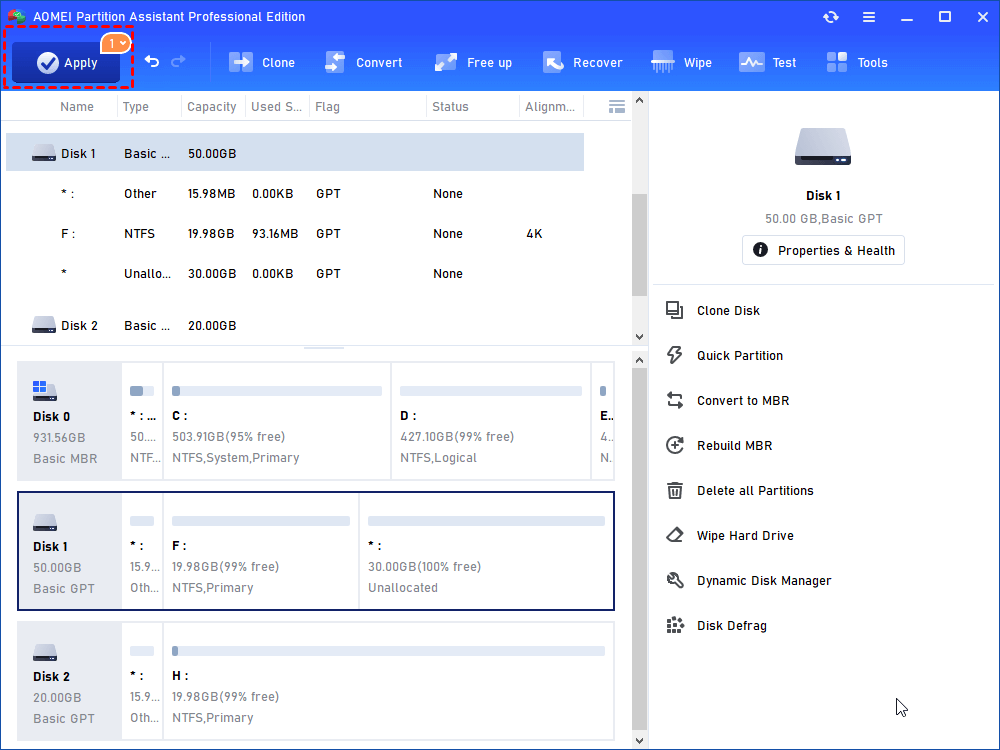
Step 6. Finally, click "Apply" on the main interface to actually clone the laptop HDD to SSD.
Section 3. Install cloned SSD into TOSHIBA Dynabook laptop for SSD replacement
Finally, after cloning a laptop hard disc to an SSD drive, you must remove the original HDD and replace it with the cloned SSD.
Step 1. Place your laptop upside-down, power it off, and battery out if feasible. A plastic cut-out panel covered by screws should be visible on its back cover. If there are two panels, remove the one with the hard drive insignia. If your laptop does not have a cut-out, you must remove the complete bottom.
Step 2. After removing the screws, pry the cut-off panel off with a sharp object.
Step 3. When the panel is removed, you can see the hard drive within. Remove the screws that hold your HDD to the bracket and disconnect the drive. Then, replace your new SSD and fasten it with the same screws.
Step 4. Finally, crew the back panel covering the drive back on.
Step 5. When everything is done, you need to restart your laptop, long-press ESC, F1, F2, F8 or F10 during the initial startup screen to enter BIOS setup, in which you need to change the boot order to boot computer from cloned SSD.

Final lines
Dynabook SSD replacement clone will help you easily and quickly upgrade your laptop hard disk without reinstalling your system and all programs. With AOMEI Partition Assistant, this multifunctional tool, this work will be very simple for all users. If you are planning to upgrade your laptop or desktop Server HDD with an SSD drive, you can try AOMEI Partition Assistant Server.