[Solved] How to Complete IDE Hard Drive Cloning?
If you don’t know the method to operate IDE hard drive cloning, don’t be frustrated. In this post, you can get a powerful hard disk migrator to clone the IDE hard drive safely and easily.
By Tina / Updated on May 12, 2023
Help! How to clone IDE to SATA
" I have a 250GB Samsung IDE HDD and want to "clone" it to a SATA II HDD. I want to remove the IDE HDD and use the SATA HDD as my main drive. Is this possible? If so, how to clone IDE hard drive to SATA? I have read that in those who have tried, it didn't work out that well. My OS is Win XP 32 bit....."
- Question from forums.tomshardware.com
Why do you want to run IDE hard drive cloning?
IDE (Integrated Drive Electronics) is an interface standard for connecting computer data storage devices and optical drives. Because of its low price, it has been regarded as the most popular hard disk interface for a long time in the past.
However, to pursue a better experience, many users want to clone IDE to SATA. Through research and comparison, we have summarized the advantages of SATA compared to IDE:
♥ SATA works with newer versions of Windows such as Windows 11/ 10/8, while IDE cannot.
♥ The data transfer speed of SATA is 6 GB/S, while that of the IDE is only 133 MB/S.
♥ SATA is better for intensive I/O tasks, while IDE is not (and even makes the computer slower).
♥ SATA supports hot-plugging, while IDE is not suitable.
♥ SATA is a serial connector, while IDE is a parallel.
Based on the above advantages, users may be more inclined to use inexpensive SATA hard drives. However, just copying and pasting one drive is not advisable, because it will cause some programs in the source disk unable to start normally. So, we'll introduce the proper way to run IDE hard drive cloning.
How to implement IDE hard drive cloning?
To help you complete IDE hard drive cloning, we highly recommend AOMEI Partition Assistant Professional, which is a reliable IDE hard drive cloning expert.
With just a few clicks in a clean interface, you can use it to clone an entire IDE hard drive or just the system (and related files) to a new hard drive. Also, you can clone larger drive to smaller drive, because as long as the size of the new hard disk is larger than the size of the current data on the source disk, you can do it.
If you want to manage a new hard drive after cloning, AOMEI can definitely help you. It provides you with unimaginable multiple functions, including allocate free space, move Application from one partition to another, convert dynamic disk to basic, etc.
Please download this IDE hard drive cloning software and see how it works.
● Preparation
You need to do some preparation to ensure the smooth completion of the cloning task.
✎ Connect new hard drive to the PC
If your PC supports SATA, you can use a SATA cable to connect the SATA hard drive to your PC; if not, prepare an IDE to SATA adapter to successfully connect it to your PC.
✎ Set the SATA drive to IDE mode
If you want to clone a IDE hard drive to a new SATA one, the most important thing is to set the SATA drive to IDE mode:
Step 1. Hold the "Shift" key and click "Restart". In the blue interface, click on Troubleshoot, Advanced Options, Startup Settings and Restart in order .
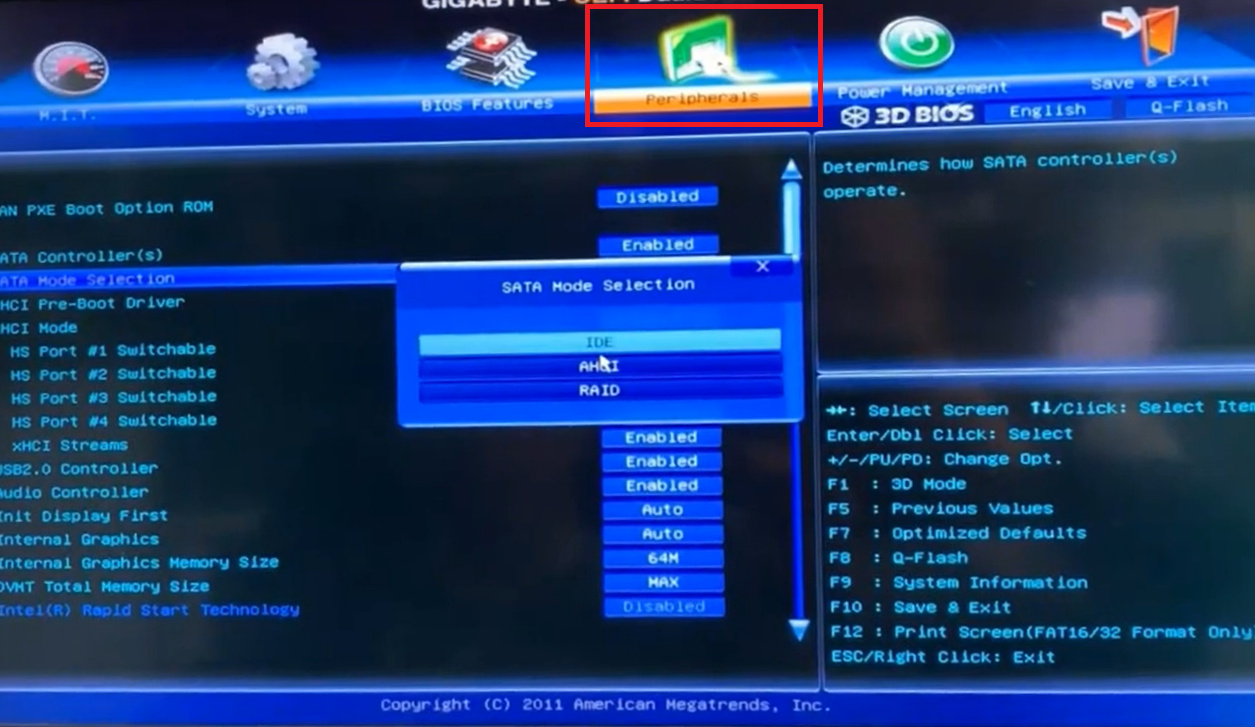
Step 2. After the computer restarts, press "Delete" or "F2" to enter the BIOS, select "Integrated Peripherals" to switch to IDE mode.
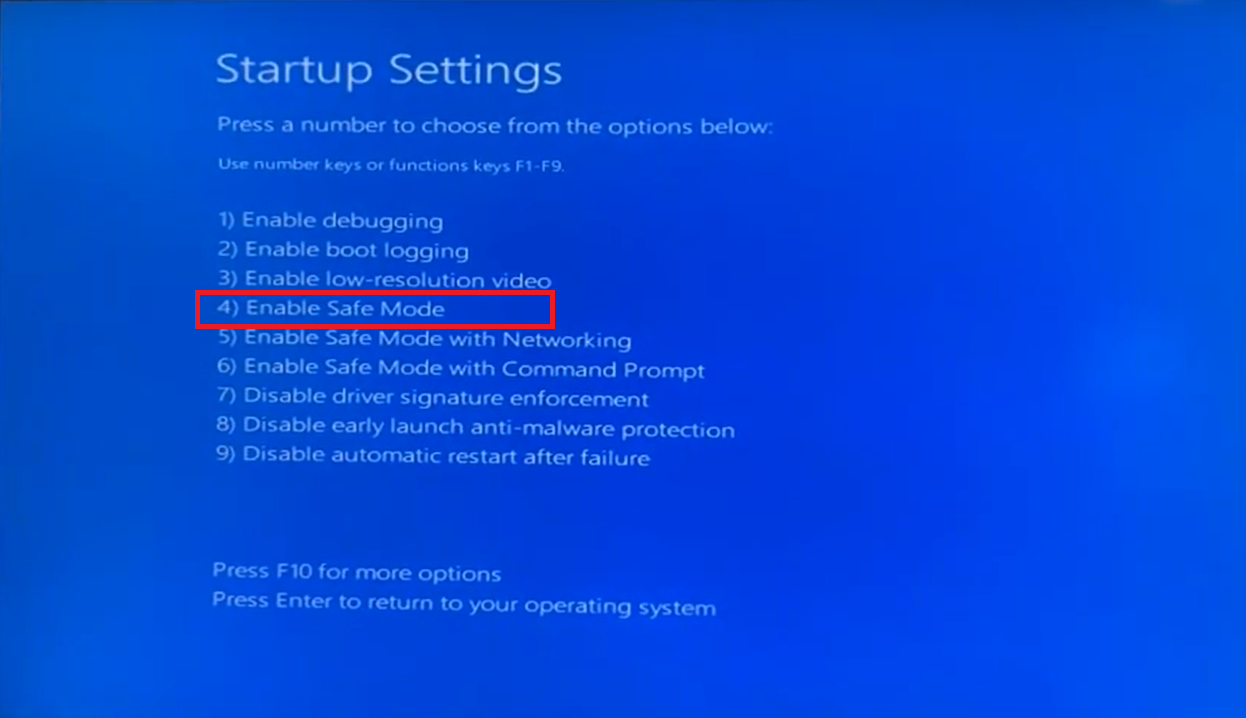
Step 3. Press "4" to enable Safe Mode, then restart your computer.
✎Connect the computer power supply to prevent sudden power outages.
✎If the target SATA hard disk is new, please initialize it first.
● Start cloning
Once everything is ready, follow the steps below to start IDE hard drive cloning.
Step 1. Install and open this powerful tool, click “Clone Disk” in the right menu.

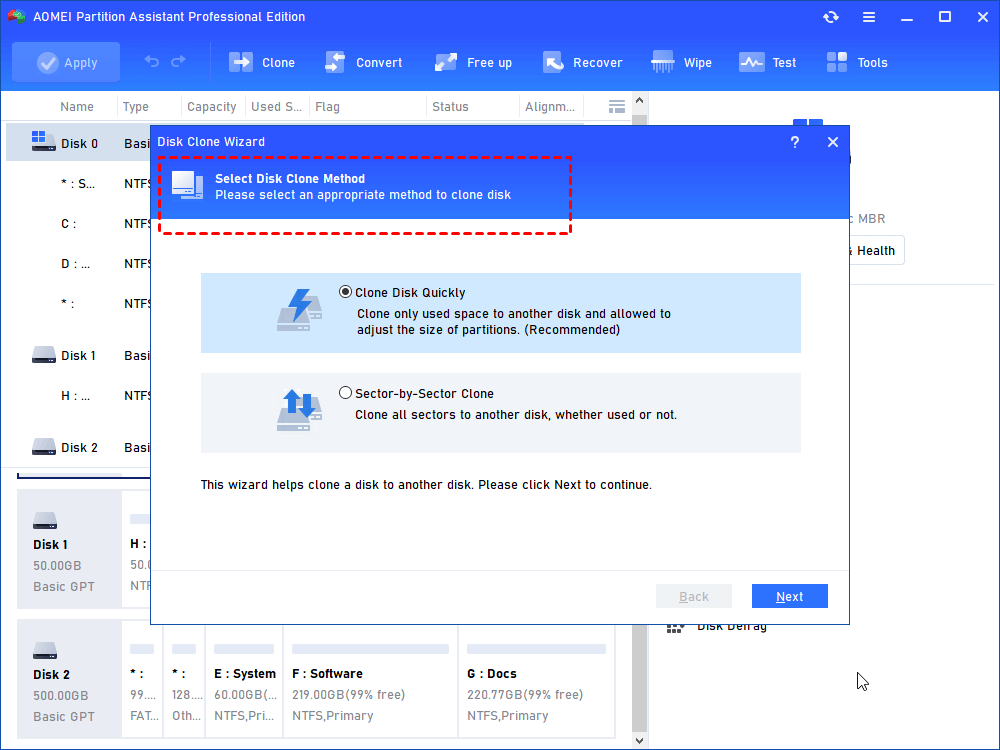
Step 2. You can select two ways to clone IDE disk: "Clone Disk Quickly" and "Sector-by-Sector Clone", click "Clone Disk Quickly".
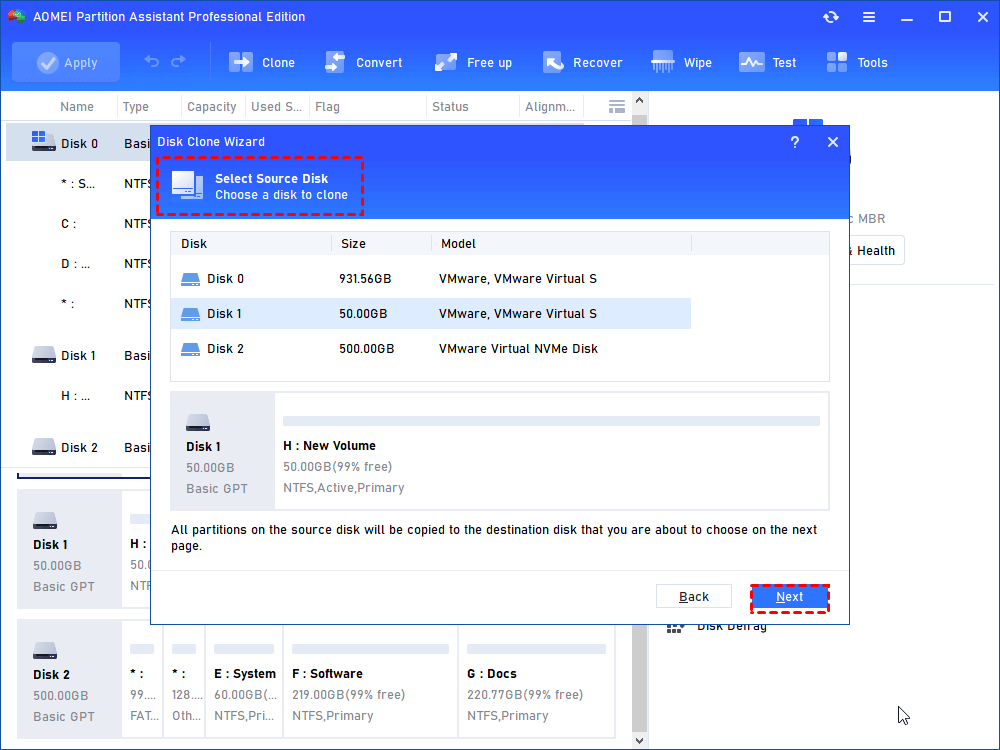
Step 3. Click the IDE hard drive as the source drive.
Step 4. Choose the new drive and tick "Optimize the performance of SSD", then click "Next".

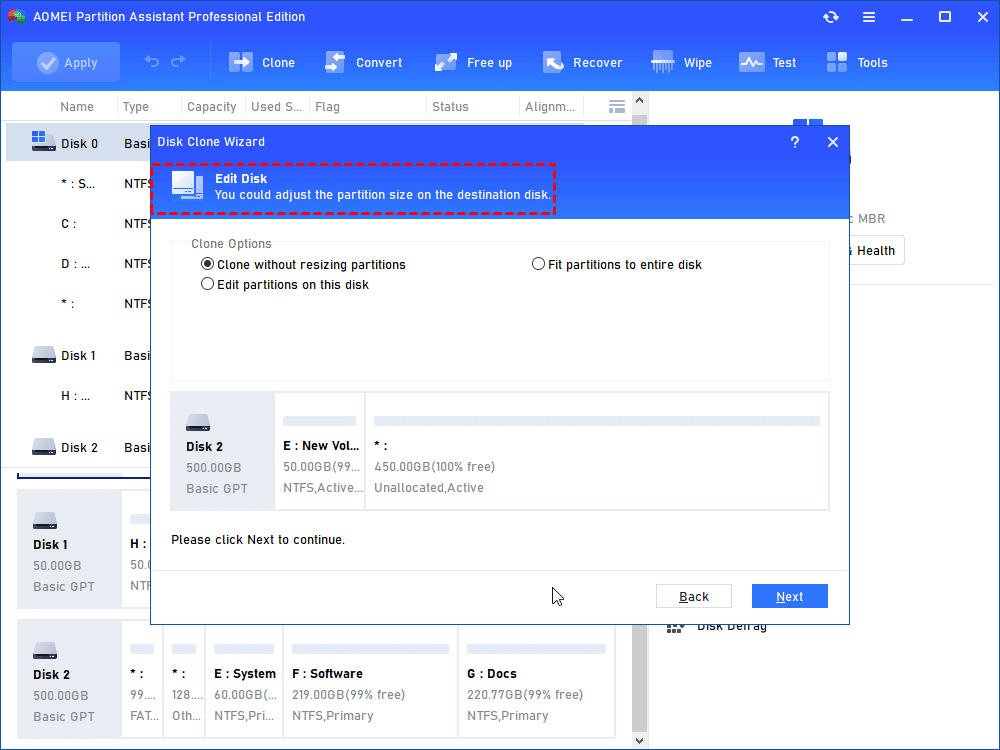
Step 5. Edit the partition size of the new disk.
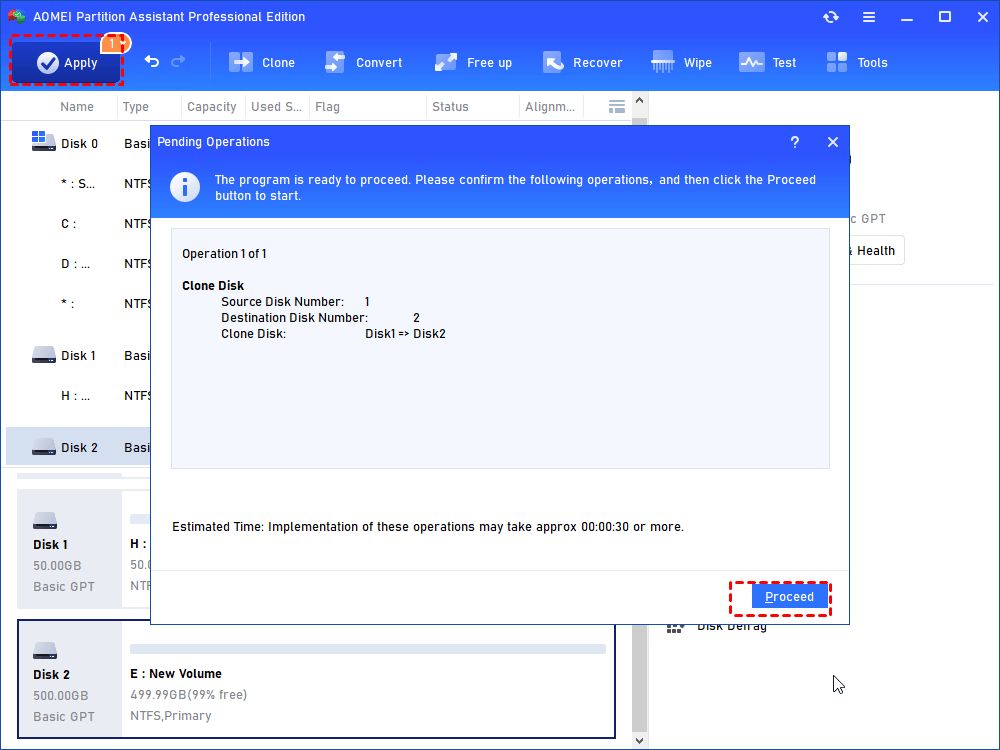
Step 6. Click "Apply" and "Proceed" to finish IDE hard drive cloning.
Note: If you just want to clone the system and system related files, "Migrate OS to SSD" can help you.
● Boot from the new hard drive
After completing the clone, remember to set the new disk as the boot drive. The detailed steps are as follows:
Step 1. Restart the computer and hold "F2" to enter "Enter Setup".
Step 2. Select "Change Boot Order" to set the new drive as the boot drive.

Summary
In this article, we elaborated on what is IDE, reasons to clone IDE hard drive and how to complete IDE hard drive cloning with AOMEI Partition Assistant.
If you want to clone IDE hard drive on Windows Server, you need to switch to the Server Version; if you want multiple people to enjoy the various benefits described in the article at the same time, the Unlimited Edition is best for you.